


Inspect Tesla front radar cover for cracks, chips, or misaligned parts. Use correct tools including precision screwdrivers and heat gun. Park on level surface, engage parking brake, then remove old cover carefully. Install new cover by aligning with mounting points and securing tightly. Test radar functionality at safe speed, addressing any connection issues. Consult vehicle repair specialists for diagnosis & severe cases.
“Uncover the essentials of Tesla front radar cover repair with this comprehensive guide. Learn how to assess damage to your vehicle’s crucial sensor system, acquire the right tools for a seamless fix, and follow a step-by-step process to replace the radar cover effectively. By understanding these basics, you’ll be equipped to address common issues, ensuring your Tesla maintains optimal safety features on the road. This guide is your starting point for navigating Tesla front radar cover repair with confidence.”
- Evaluating Damage to Tesla's Front Radar Cover
- Necessary Tools for Successful Repair
- Step-by-Step Guide to Replacing the Radar Cover
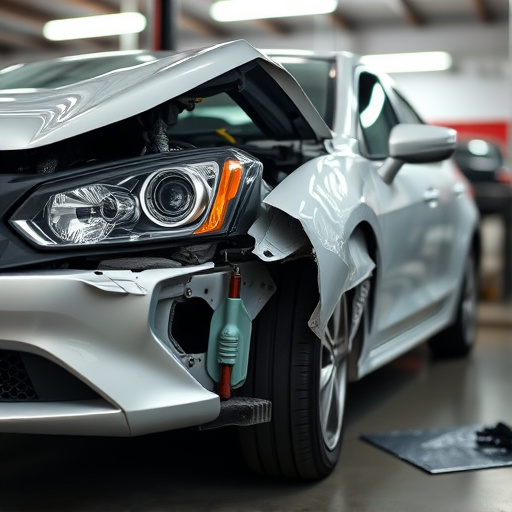
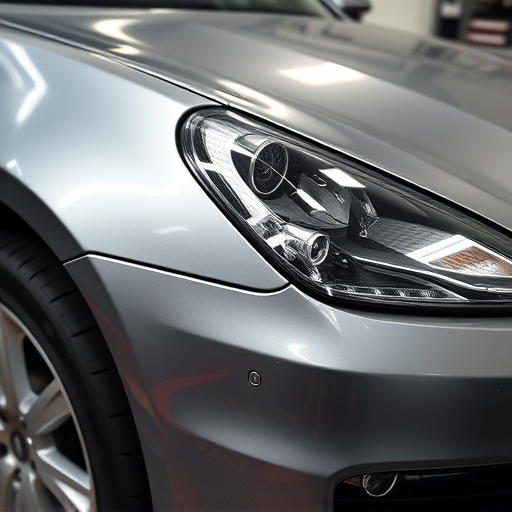
Evaluating Damage to Tesla's Front Radar Cover
When evaluating damage to a Tesla’s front radar cover, the first step is to thoroughly inspect the exterior of your vehicle. Look for any visible cracks, chips, or dents in the radar cover itself. These can often be assessed by holding a light at different angles to see if there are any signs of impact. Additionally, check for loose or misaligned components, as these could indicate underlying damage. If the radar cover appears intact but shows signs of fading, discoloration, or is no longer properly sealed, it may require repair or replacement.
In some cases, deeper inspection might be needed, especially if there’s suspicion of structural integrity compromise. This can involve removing the cover to assess the condition of the underlying components and sensor. While many minor damages can be addressed through Tesla front radar cover repair techniques such as painting or fender repair, more severe cases might necessitate a complete replacement. It’s important to consult with professionals who specialize in vehicle repair, particularly for electric vehicles like Tesla, to ensure proper handling and adherence to safety standards.
Necessary Tools for Successful Repair
When tackling a Tesla front radar cover repair, having the right tools is key to achieving a successful outcome. For this specific job, you’ll need a few essential items from your luxury vehicle repair arsenal. First and foremost, a set of precision screwdrivers tailored for automotive use will be required to disassemble and reassemble the components accurately. Additionally, a high-quality radar cover replacement—compatible with Tesla models—is an absolute must.
For a precise fit and seamless installation, consider obtaining a heat gun and a set of pliers. These tools aid in carefully removing the old cover without damaging surrounding parts, a common challenge in collision repair. Remember, meticulous attention to detail is crucial when repairing or replacing any component on a high-end vehicle like a Tesla, ensuring both safety and aesthetic integrity.
Step-by-Step Guide to Replacing the Radar Cover
Replacing a Tesla front radar cover is a straightforward process that many car owners can handle with some basic tools and knowledge. Here’s a step-by-step guide to help you through it:
1. Safety First: Park your Tesla on a level surface and engage the parking brake. Ensure the vehicle is in neutral gear. Safety is paramount, especially when dealing with sensitive components like the radar system.
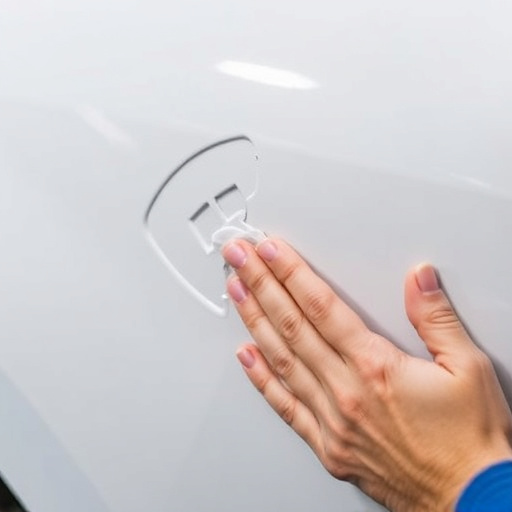
2. Remove the Existing Cover: Using a suitable tool or a plastic spudger, carefully pry off the old radar cover from the front of your Tesla. Take note of how it’s aligned and secured to avoid any missteps during installation. Some models may require removing a few screws first.
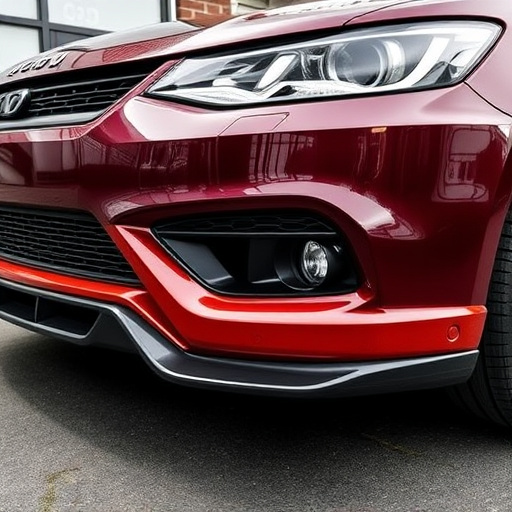
3. Inspect and Prepare: Examine the vehicle’s front fascia where the radar is located. Clean the area to remove any dirt or debris, ensuring a clear view of the sensor. If there are any damages to the surrounding panel, consider taking it to a collision center for auto body repairs before proceeding.
4. Install New Cover: Align the new radar cover with the existing mounting points and secure it in place using the appropriate fasteners. Ensure everything is snug but not overly tight to avoid damaging the paint or the sensor underneath.
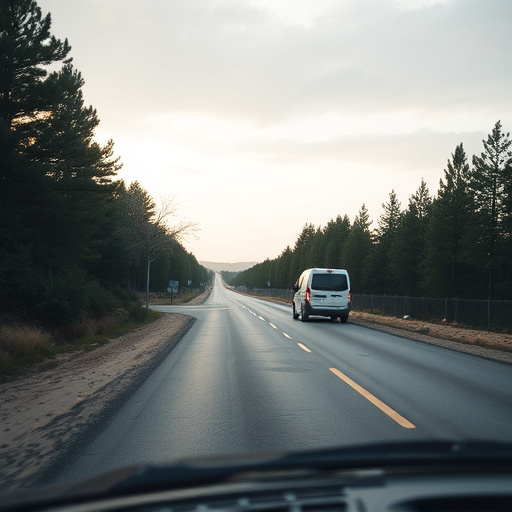
5. Test Functionality: After replacement, drive your Tesla at a safe speed (and within legal limits) to test if the radar functionality is working as expected. If issues persist, double-check your connections and consult with a professional auto painting expert for further assistance.
Repairing your Tesla’s front radar cover is a manageable task with the right knowledge and tools. By following the step-by-step guide outlined in this article, you can effectively assess damage, acquire necessary components, and successfully replace the radar cover. This DIY approach not only saves costs but also ensures your Tesla’s advanced driver-assistance systems (ADAS) function optimally. Remember, a well-maintained radar cover is crucial for enhancing safety features on your electric vehicle, so take the time to understand and master this repair process.